TinyMCE is the popular WYSIWYG HTML Editor. It stands for Tiny Moxiecode Content Editor. It supports text formatting, image upload and modification, table insert and more features.
TinyMCE rich text editor allows uploading images from various sources. It has input options to paste the image source URL, to select images from the clipboard and choose images by exploring the local files or folder.
Download TinyMCE and integrate the editor plugin to change a HTML textarea or any other container element as a rich text editor. After including the dependent files, we have to initialize TinyMCE plugin with the reference of the query selector representing the HTML container which is to be viewed as the text editor.
I set options to configure the plugin to enable the image upload options to explore the local files or folder. The chosen files are uploaded as a BLOB to the TinyMCE Rich textarea. The images uploaded by using the file input options are stored in the “uploads” folder that I have created.
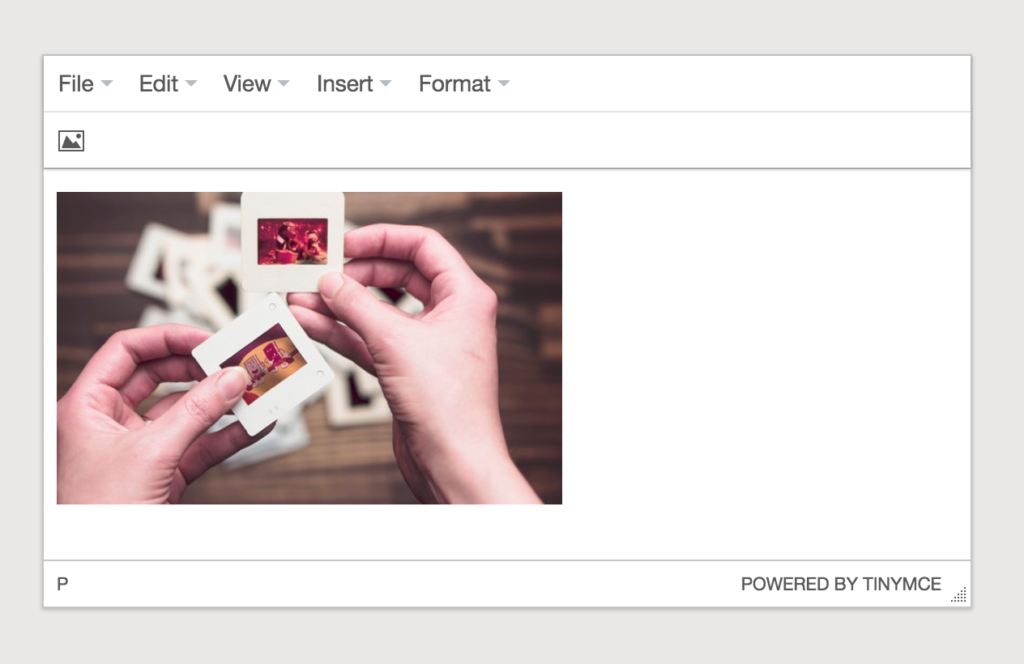
The screenshot shows the embedded image into the TinyMCE text editor after successful image file upload using PHP.
Landing HTML with TinyMCE Editor
This HTML code shows the HTML container and how it is replaced with the TinyMCE editor after initializing the plugin. It has the plugin file includes at the beginning before invoking TinyMCE library initialization method.
While initialization, I set the options to specify the toolbar items, the PHP file to handle the image upload and many. The plugins and to toolbar options are used to specify the tools required to be displayed in the rich text editor.
The images_upload_url option is used to enable the uploads tab to choose images by exploring local files. The images_upload_handler option is used to post the chosen image blob to the PHP file to process image upload.
<html lang="en">
<head>
<script src="https://code.jquery.com/jquery-1.11.3.js"></script>
<script type="text/javascript" src="js/tinymce/jquery.tinymce.min.js"></script>
<script type="text/javascript" src="js/tinymce/tinymce.min.js"></script>

<script>
	tinymce.init({
		selector : '#richTextArea',
		plugins : 'image',
		toolbar : 'image',

		images_upload_url : 'upload.php',
		automatic_uploads : false,

		images_upload_handler : function(blobInfo, success, failure) {
			var xhr, formData;

			xhr = new XMLHttpRequest();
			xhr.withCredentials = false;
			xhr.open('POST', 'upload.php');

			xhr.onload = function() {
				var json;

				if (xhr.status != 200) {
					failure('HTTP Error: ' + xhr.status);
					return;
				}

				json = JSON.parse(xhr.responseText);

				if (!json || typeof json.file_path != 'string') {
					failure('Invalid JSON: ' + xhr.responseText);
					return;
				}

				success(json.file_path);
			};

			formData = new FormData();
			formData.append('file', blobInfo.blob(), blobInfo.filename());

			xhr.send(formData);
		},
	});
</script>
</head>

<body>
    <h2>PHP Image Upload using TinyMCE Editor</h2>
    <textarea id="richTextArea"></textarea>
</body>
</html>
PHP Image Upload
This PHP code receives the image blob sent by using the XML HTTP request. After validating the image upload request the move_uploaded_file() function is called to move the uploaded image file the specified target folder.
After successful upload, the uploaded file path will be sent with a JSON response. This response data is parsed and the image file will be embedded into the TinyMCE rich text editor.
<?php
$url = array(
    "http://localhost"
);

reset($_FILES);
$temp = current($_FILES);

if (is_uploaded_file($temp['tmp_name'])) {
    if (preg_match("/([^\w\s\d\-_~,;:\[\]\(\).])|([\.]{2,})/", $temp['name'])) {
        header("HTTP/1.1 400 Invalid file name,Bad request");
        return;
    }

    // Validating File extensions
    if (! in_array(strtolower(pathinfo($temp['name'], PATHINFO_EXTENSION)), array(
        "gif",
        "jpg",
        "png"
    ))) {
        header("HTTP/1.1 400 Not an Image");
        return;
    }

    $fileName = "uploads/" . $temp['name'];
    move_uploaded_file($temp['tmp_name'], $fileName);

    // Return JSON response with the uploaded file path.
    echo json_encode(array(
        'file_path' => $fileName
    ));
}
?>


That is sooo cool! Thanks a lot.
Welcome Mark.
thank u .. very useful