Email with multiple attachments feature is a most wanted requirement for the mail sending functionality. In this tutorial, we are going to learn about sending an email with multiple attachments. We will be using the PHPMailer. The attachment files are chosen and attached to the email via an HTML form.
In this example, I have used jQuery AJAX to call the mail script by posting email data with the attachments. If you are looking for a email with single attachment, refer my previous tutorial, how to send an email by using PHPMailer class.
In this example, I have created an HTML form containing input fields for Sender Name, Email, Subject, Content and Files to be attached. In this form, the file input field is set with the “multiple” attribute to allow choosing more than one file for the email attachment.
The chosen files in the $_FILES global array are iterated and attached to the email by using PHPMailer object. Previously, we have seen an example of sending contact email with a single attachment.
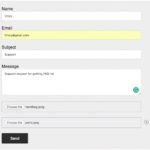
The following screenshot shows the HTML form with the pre-populated email data and the file input showing the count of the multiple attachment files.
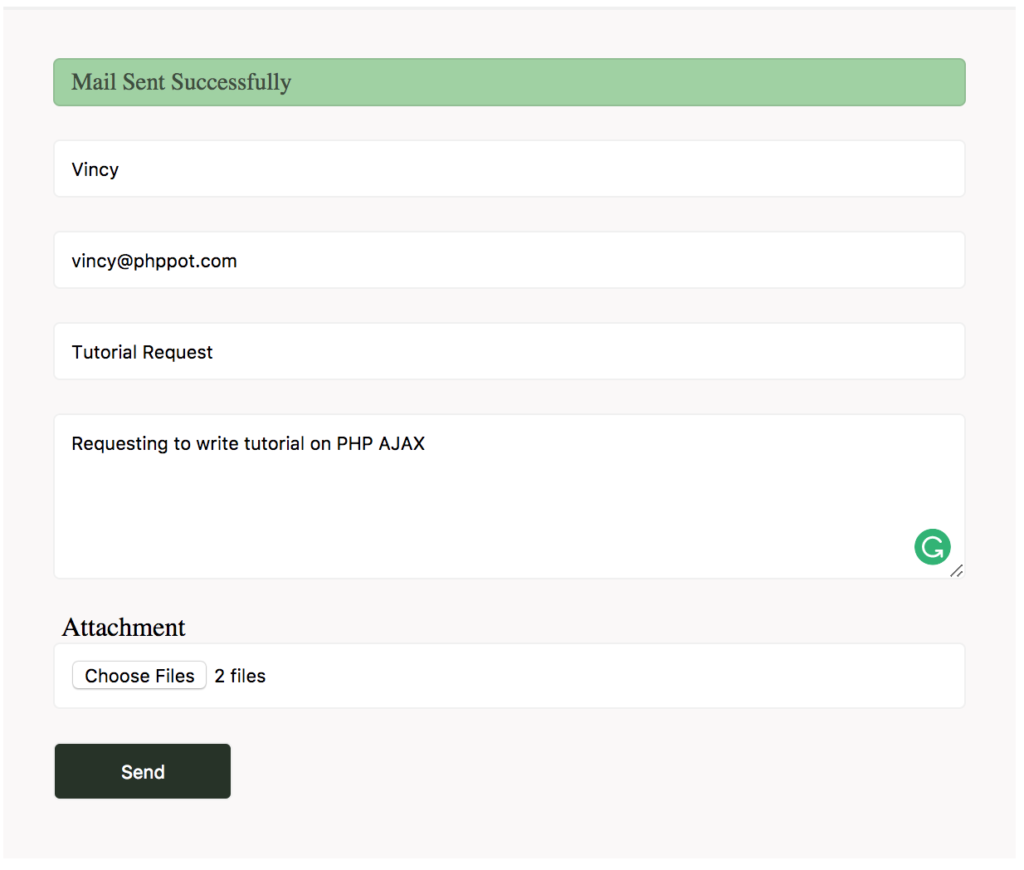
Choosing Multiple Attachments using HTML Form
The following HTML form contains input fields for entering email data like name and email of the sender, the subject and the body content. It also contains file input for choosing more than one file by enabling the “multiple” property.
<form id="frmEnquiry" action="" method="post" enctype='multipart/form-data'>
    <div id="mail-status"></div>
    <div>
        <input
            type="text" name="userName" id="userName"
            class="demoInputBox" placeholder="Name">
    </div>
    <div>
        <input type="text" name="userEmail" id="userEmail"
            class="demoInputBox" placeholder="Email">
    </div>
    <div>
        <input type="text" name="subject" id="subject"
            class="demoInputBox" placeholder="Subject">
    </div>
    <div>
        <textarea name="content" id="content" class="demoInputBox"
            cols="60" rows="6" placeholder="Content"></textarea>
    </div>
    <div>
        <label>Attachment</label><br /> <input type="file"
            name="attachment[]" class="demoInputBox" multiple="multiple">
    </div>
    <div>
        <input type="submit" value="Send" class="btnAction" />
    </div>
</form>
Posting Form Data via jQuery AJAX
On submitting the form, the value of the input fields entered by the user is validated using jQuery. If all the fields are validated and the validation function returns true, then AJAX call will be generated for requesting the email sending script.
After executing the mail script, the AJAX response block will update the UI to acknowledge the user about the sent status of the email.
<script src="jquery-3.2.1.min.js" type="text/javascript"></script>
<script type="text/javascript">
$(document).ready(function (e){
$("#frmEnquiry").on('submit',(function(e){
	e.preventDefault();
	$('#loader-icon').show();
	var valid;
	valid = validateContact();
	if(valid) {
		$.ajax({
		url: "mail-send.php",
		type: "POST",
		data:  new FormData(this),
		contentType: false,
		cache: false,
		processData:false,
		success: function(data){
		$("#mail-status").html(data);
		$('#loader-icon').hide();
		},
		error: function(){}

		});
	}
}));

function validateContact() {
	var valid = true;
	$(".demoInputBox").css('background-color','');
	$(".info").html('');
	$("#userName").removeClass("invalid");
	$("#userEmail").removeClass("invalid");
	$("#subject").removeClass("invalid");
	$("#content").removeClass("invalid");

	if(!$("#userName").val()) {
		$("#userName").addClass("invalid");
        $("#userName").attr("title","Required");
        valid = false;
	}
    if(!$("#userEmail").val()) {
        $("#userEmail").addClass("invalid");
        $("#userEmail").attr("title","Required");
        valid = false;
    }
    if(!$("#userEmail").val().match(/^([\w-\.]+@([\w-]+\.)+[\w-]{2,4})?$/)) {
        $("#userEmail").addClass("invalid");
        $("#userEmail").attr("title","Invalid Email");
        valid = false;
    }
	if(!$("#subject").val()) {
		$("#subject").addClass("invalid");
        $("#subject").attr("title","Required");
		valid = false;
	}
	if(!$("#content").val()) {
		$("#content").addClass("invalid");
        $("#content").attr("title","Required");
		valid = false;
	}

	return valid;
}

});
</script>
PHP Code to Attach Multiple Files to the EMail
In this PHP code, it creates the mail object for the PHPMailer class. Using this object, the email options are set before invoking the send function.
The multiple files posted via the HTML form will be read by using $_FILES array variable. This array is iterated the corresponding file will be attached by calling the addAttachment() function with the reference of the mail object.
<?php
require('phpmailer/class.phpmailer.php');

$mail = new PHPMailer();
$mail->IsSMTP();
$mail->SMTPDebug = 0;
$mail->SMTPAuth = TRUE;
$mail->SMTPSecure = "ssl";
$mail->Port     = 465;
$mail->Username = "YOUR USER_NAME";
$mail->Password = "YOUR PASSWORD";
$mail->Host     = "YOUR HOST";
$mail->Mailer   = "smtp";
$mail->SetFrom($_POST["userEmail"], $_POST["userName"]);
$mail->AddReplyTo($_POST["userEmail"], $_POST["userName"]);
$mail->AddAddress("RECIPIENT_EMAIL");
$mail->Subject = $_POST["subject"];
$mail->WordWrap   = 80;
$mail->MsgHTML($_POST["content"]);

foreach ($_FILES["attachment"]["name"] as $k => $v) {
    $mail->AddAttachment( $_FILES["attachment"]["tmp_name"][$k], $_FILES["attachment"]["name"][$k] );
}

$mail->IsHTML(true);

if(!$mail->Send()) {
	echo "<p class='error'>Problem in Sending Mail.</p>";
} else {
	echo "<p class='success'>Mail Sent Successfully.</p>";
}
?>


===
Could not access file: SMTP Error: Could not connect to SMTP host.
=====
Your Apache instance should have configuration to a mail server, in that case you can use PHP’s
mail(). Or you should use a valid SMTP server to send email. In the line$mail->Host, you should give the host url. Only then, the email will be sent. Your error says, that either you do not have a network connection, or most probably, you have not given a valid SMTP host.helloo..how to run this file in broweser..can you explain it..iam a dotnet developer thats why i dnt knw php but this email sending php urgent form me
Hi Shana,
You need to have a web server like Apache. You can install XAMPP, it comes with the combo of software needed to run PHP. It is free.
After installation, download the project files, unzip and put it inside the folder “htdocs”. This is the default path where you should put your webapplications.
Then start the server, via the XAMPP control manager. Now, go to the browser and type localhost/ to view the program output.
This form is working perfectly for me except I am trying to add one more text field for a Phone number but I just can’t get the field to show up on the email… it shows on the html form but does not deliver that field in an email. Can you please help?
Hi Tom,
After adding a new field (telephone) to the form, you should get the values posted from that form and add to the message body.
$mail->MsgHTML($_POST["content"]);You need to append the value present in that new field to the above code. If you still find it difficult, send an email to me with your code. I will make the change and send you back.