In a previous tutorial, we have seen how to integrate WooCommerce in a WordPress site. With WooCommerce and WordPress, creating our own online store is a matter of few seconds job that we have learned from the tutorial. If you want to see the steps to turn your WordPress site into an online store with a WooCommerce plugin, the linked article will be useful for you.
Now, we are going to learn how to integrate a live chat with a WooCommerce enabled WordPress site. An eCommerce software must support the following features. By implementing these features, it will turn your eCommerce store impressive to the users in various aspects and boost your sales.
Some of the essential factors that an eCommerce Software must contain are listed below.
- Modern, Enriched, Populated Product Gallery to showcase your store potential.
- Support maximum of the payment gateways to increase payment flexibility.
- Communication channels like chat, support ticket to let your users, customers to reach your support team.
- Product ratings, reviews, purchases.
- Smooth and Clear navigation on the purchase flow.
So, integrating chat-like communication medium is one of the important features for an eCommerce software. There are various WordPress chat plugins and widgets for integrating live chat in a WooCommerce and WordPress website. In this tutorial, I have stated the steps to integrate live chat with the Quick Chat WordPress plugin.
Introduction to Quick Chat plugin
Let us see short notes about the Quick Chat plugin in this section. Quick Chat is one of the best chat plugins used to integrate live chat on a WordPress website. This plugin is for free and supports the key features like private chat, chat room, word filtering and more.
This plugin will be self-hosted and performs based on your WooCommerce WordPress site potential. The chat users and messages are maintained with the WordPress site database. It is popular with its highlighting features like CRON job, caching and more.
Integrate Quick Chat Plugin on WooCommerce
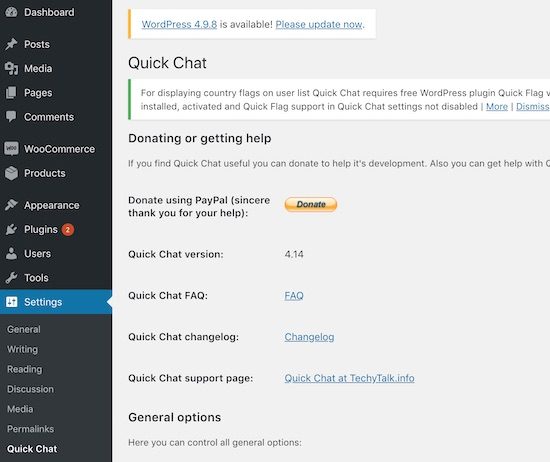
For integrating the Quick Chat plugin on a WoooCommerce web store, first, install this plugin on to the WordPress website. You can integrate the plugin via the WordPress plugin installer or by using the manual method. If you a beginner to the WordPress development and want to learn how to install a WordPress plugin, check with the linked article.
After installing the Quick Chat plugin, activate it to configure the chat options by using the plugin’s settings page. The settings page will have the option to configure about to set the role of users who can participate in the chat. It also has the settings to enable or disable automatic delete, private chat, word filtering and more.
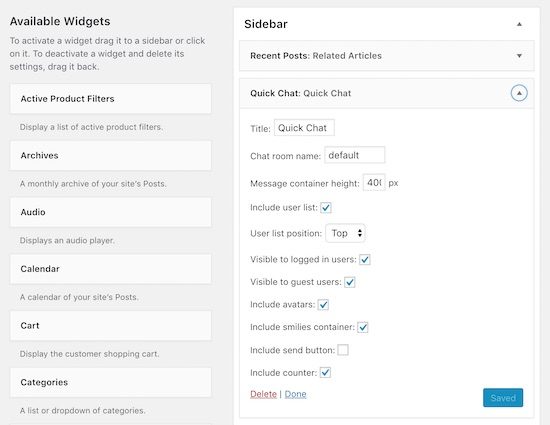
By activating the Quick Chat plugin, the plugin widget will be listed in the WordPress admin. Go the Appearance -> Widgets to drag and drop the Quick Chat widget in a desired position of the WooCommerce theme layout.
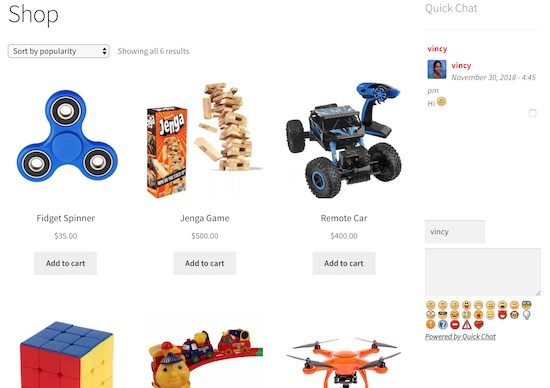
Quick Chat Widget Output on WooCommerce Store Sidebar
As per the themes widget settings that we have made by using the WordPress admin panel, the Quick Chat widget will be deployed on to the theme layout. I have added the Quick Chat widget to the Blog Sidebar container.
After saving the Quick Chat widget card with the Blog sidebar, the storefront will look like as the screenshot below.