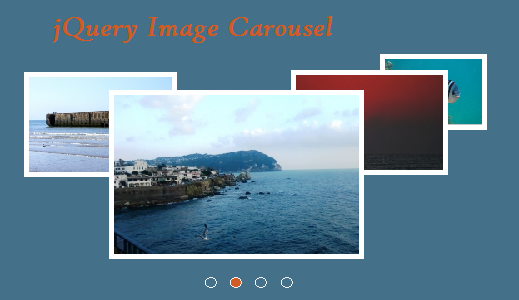
This tutorial is used to create an image carousel using jQuery. In a previous tutorial, we have seen a jQuery image slider to turn images periodically.
In this example, we have four images for running this carousel. We are showing previous and next icons on the mouse-over event of the images to be scrolled back and forth.
jQuery carousel HTML
In this code, we are having HTML for four images with previous next controls.

<div id="slider-div">
	<img class="active" src="1.jpg">
	<img src="2.jpg">
	<img src="3.jpg">
	<img src="4.jpg">
	<div class="btn-carousel" id="previous"><</div>
	<div class="btn-carousel" id="next">></div>
</div>
jQuery Script for Image Carousel
This jQuery code is used for showing image carousel by turning images one by one. It will be called on the click event of previous or next control which is shown on mouseover.
<script>
$(document).ready(function() {
	$(".active").show();
	$("#slider-div").hover(function(){$(".btn-carousel").show();},function(){$(".btn-carousel").hide();})
	$(".btn-carousel").on('click',function(){
		var id = $(this).attr('id');
		var nav;
		if(id=="previous") {
			nav = $("img.active").prev('img');
			if(nav.length == 0) nav = $("img").last();
		} else if(id=="next") {
			nav = $("img.active").next('img');
			if(nav.length == 0) nav = $("img").first();
		}
		$("img.active").hide();
		$("img.active").removeClass("active");
		nav.addClass("active");
		nav.fadeIn(1000);
	});
});
</script>
