PHP upload is a single-line, built-in function invocation. Any user inputs, especially files, can not be processed without proper filtering. Why? Because people may upload harmful files to the server.
After file upload, the status has to be shown in the UI as an acknowledgment. Otherwise, showing the uploaded image’s preview is the best way of acknowledging the end user.
View Demo
Earlier, we saw how to show the preview of images extracted from a remote URL.
This article will provide a short and easy example in PHP to upload and display images.
Steps to upload and display the image preview on the browser
- Show an image upload option in an HTML form.
- Read file data from the form and set the upload target.
- Validate the file type size before uploading to the server.
- Call the PHP upload function to save the file to the target.
- Display the uploaded image on the browser
1. Show an image upload option in an HTML form
This code is to show an HTML form with a file input to the user. This form is with enctype="multipart/form-data" attribute. This attribute is for uploading the file binary to be accessible on the PHP side.
<form action="" method="post" enctype="multipart/form-data">
    <div class="row">
        <input type="file" name="image" required>
        <input type="submit" name="submit" value="Upload">
    </div>
</form>
Read file data from the form and set the upload target
This section shows a primary PHP condition to check if the form is posted and the file binary is not empty.
Once these conditions return true, further steps will be taken for execution.
Once the image is posted, it sets the target directory path to upload. The variable $uploadOK is a custom flag to allow the PHP file upload.
If the validation returns false, this $uploadOK variable will be turned to 0 and stop uploading.
<?php
if (isset($_POST["submit"])) {

    // Check image using getimagesize function and get size
    // if a valid number is got then uploaded file is an image
    if (isset($_FILES["image"])) {
        // directory name to store the uploaded image files
        // this should have sufficient read/write/execute permissions
        // if not already exists, please create it in the root of the
        // project folder
        $targetDir = "uploads/";
        $targetFile = $targetDir . basename($_FILES["image"]["name"]);
        $uploadOk = 1;
        $imageFileType = strtolower(pathinfo($targetFile, PATHINFO_EXTENSION));

        // Validation here
    }
}
?>
Validate the file type size before uploading to the server
This example applies three types of validation criteria on the server side.
- Check if the uploaded file is an image.
- Check if the image has the accepted size limit (0.5 MB).
- Check if the image has the allowed extension (jpeg and png).
<?php
// Check image using getimagesize function and get size
    // if a valid number is got then uploaded file is an image
    if (isset($_FILES["image"])) {
        // directory name to store the uploaded image files
        // this should have sufficient read/write/execute permissions
        // if not already exists, please create it in the root of the
        // project folder
        $targetDir = "uploads/";
        $targetFile = $targetDir . basename($_FILES["image"]["name"]);
        $uploadOk = 1;
        $imageFileType = strtolower(pathinfo($targetFile, PATHINFO_EXTENSION));

        $check = getimagesize($_FILES["image"]["tmp_name"]);
        if ($check !== false) {
            echo "File is an image - " . $check["mime"] . ".";
            $uploadOk = 1;
        } else {
            echo "File is not an image.";
            $uploadOk = 0;
        }
    }

    // Check if the file already exists in the same path
    if (file_exists($targetFile)) {
        echo "Sorry, file already exists.";
        $uploadOk = 0;
    }

    // Check file size and throw error if it is greater than
    // the predefined value, here it is 500000
    if ($_FILES["image"]["size"] > 500000) {
        echo "Sorry, your file is too large.";
        $uploadOk = 0;
    }

    // Check for uploaded file formats and allow only
    // jpg, png, jpeg and gif
    // If you want to allow more formats, declare it here
    if (
        $imageFileType != "jpg" && $imageFileType != "png" && $imageFileType != "jpeg"
        && $imageFileType != "gif"
    ) {
        echo "Sorry, only JPG, JPEG, PNG & GIF files are allowed.";
        $uploadOk = 0;
    }
?>
4. Call the PHP upload function to save the file to the target
Once the validation is completed, then the PHP move_uploaded_file() the function is called.
It copies the file from the temporary path to the target direct set in step 1.
<?php
// Check if $uploadOk is set to 0 by an error
if ($uploadOk == 0) {
    echo "Sorry, your file was not uploaded.";
} else {
    if (move_uploaded_file($_FILES["image"]["tmp_name"], $targetFile)) {
        echo "The file " . htmlspecialchars(basename($_FILES["image"]["name"])) . " has been uploaded.";
    } else {
        echo "Sorry, there was an error uploading your file.";
    }
}
?>
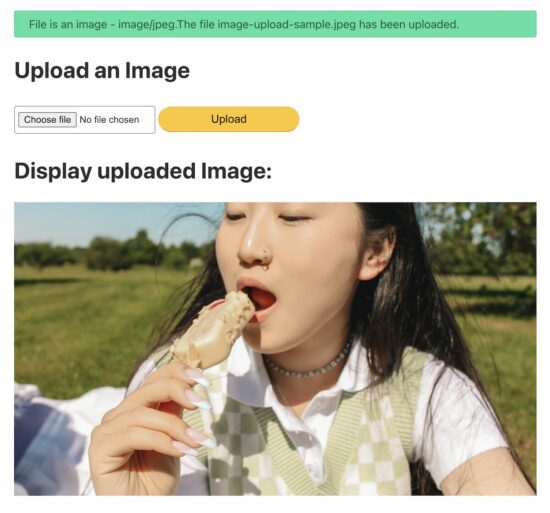
5. Display the uploaded image on the browser.
This section shows the image preview by setting the source path.
Before setting the preview source, this code ensures the upload status is ‘true.’
<h1>Display uploaded Image:</h1>
<?php if (isset($_FILES["image"]) && $uploadOk == 1) : ?>
    <img src="<?php echo $targetFile; ?>" alt="Uploaded Image">
<?php endif; ?>
Create a directory called “uploads” in the root directory of the downloaded example project. Uploaded images will be stored in this folder.
Note: The “uploads” directory should have sufficient file permissions.
View Demo Download


Thank you very much Vincy. After just a month of following your site, as a former .NET programmer, without any knowledge of JavaScript, PHP and MySQL, I was able to develop a complex commercial application and sell it with a nice profit. Learning from you was a joyful experience that immensely enriched my knowledge and opened my career path to a new and exiting challenges. The God bless you and let his mercy fulfil you with happiness and success in all your endeavours.
Hi Bato,
Thank you for your kind words. It’s a motivation to write with more responsibility. Keep listening and share your comments.
Nice
Thanks Dhruv.
nice
Thanks Ramya.
Tested working 100%, it even restrict html files from being uploaded, thanks!
Welcome Crazy_soul :-)
Wishing you a happy new year 2024!
nice
Thanks Ibrahim.
Thanks Vincy for this wonderful tutorial. I am going to use this to have our users upload their profile pictures. Of course I will modify the code to only allow 1 file in the uploads folder that I will rename to “profilepic”. I like how its nice and simple and doesn’t require alot of code. P.S. I totally love how your checking for file sizes and file types WOW. Just what I need!