PHPMyAdmin is one of the widely used database clients for PHP MySQL developers. It provides a simple user interface that can be easily adapted by beginners.
We can blindly say that PHPMyAdmin as the de-facto database client used by PHP developers for MySQL / MariaDB. It is hugely popular and that is because of its simplicity and ease of use.
It allows many database operations. Example,
- Creating databases and the corresponding tables.
- Adding and managing data.
- Altering the existing structure and attributes defined.
- Import, and export operations.
In this article, we will see how to create a MySQL database using PHPMyAdmin.
How to create a database?
First login to the PHPMyAdmin client to go to the database control panel.
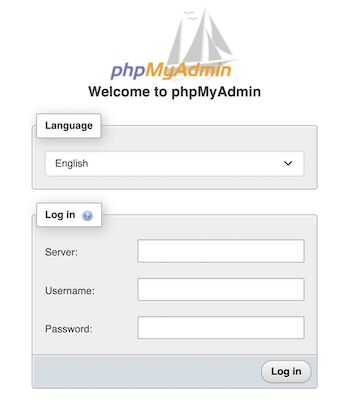
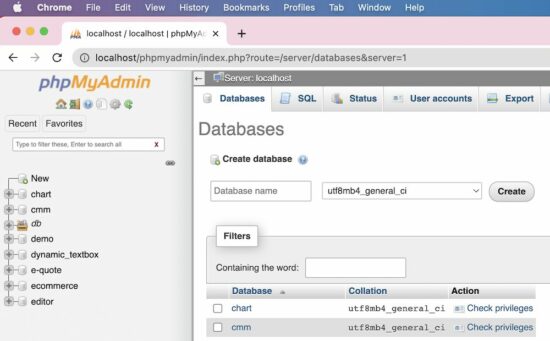
After login, it redirects to the PHPMyAdmin control panel which allows doing the following.
- To manage and manipulate MySQL database assets.
- To perform CRUD or other database-related operations.
If you want to see code to perform the MySQL database CRUD operations from a PHP application, the linked article has the source,
Ways to create a database using PHPMyAdmin
There are 4 ways to create a new MySQL database using the PHPMyAdmin client interface.
- Via the left panel navigation.
- Via the header tab control navigation.
- By executing a CREATE statement via the SQL tab.
- By importing a CREATE statement SQL script via the Import tab.
1. Create database via left panel
In the PHPMyAdmin left panel, it contains a New link. It redirects to the page to create a new database.
2. Create database via header tab
The PHPMyAdmin UI shows tabs like Database, Import, Export and more. The Database tab redirects to show a list of existing databases with an option to create a new one.
Both of these navigation controls will display the UI as shown in the figure.

The database create-form shows two fields.
- To type the name of the database to be created.
- To choose a collation that is encoding type.
In the above screenshot, the utf8_unicode_ci collation is selected.
The other two methods are for the one who has the SQL script for creating a new MySQL database.
Sometimes the database SQL will be provided. In that case, it is not required to use the interface to input the database name and the collation.
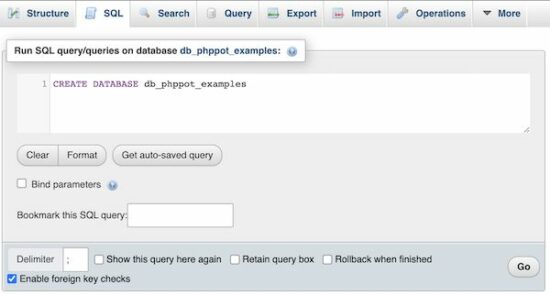
3. Create database via SQL tab, by running a CREATE SQL query
Choose the SQL tab from the PHPMyAdmin header. It will show a textarea to paste the CREATE database query.
Then, execute the entered query to see the created database among the existing list.
4. Create database via Import tab, by uploading a SQL script
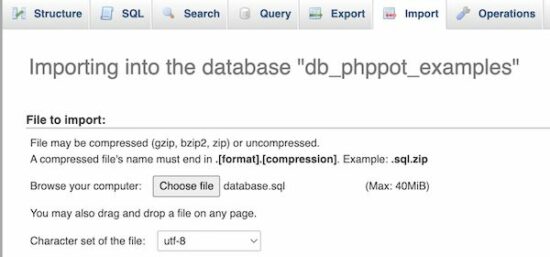
If you have the database CREATE statement Choose the Import tab from the PHPMyAdmin header. Then browse the SQL script that contains the CREATE statement.
Then click the “Go” button to process the import. It will result in displaying a new database imported.
We have seen PHP code for importing Excel data into a database using a custom code.
After creating a MySQL database
After creating a MySQL database using PHPMyAdmin, the next job is to start adding the tables.
The PHPMyAdmin has the option to “Check privileges” to map roles and MySQL database operations.
But, this is a rarely used feature. If the database is associated with more than one user, then this feature will be used.
How to create tables in a database?
After creating a database, the PHPMyAdmin shows a form to a create table. That form show fields to enter the table name and the number of columns of the table.
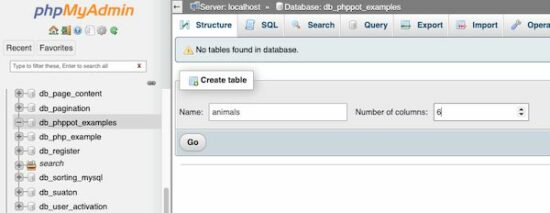
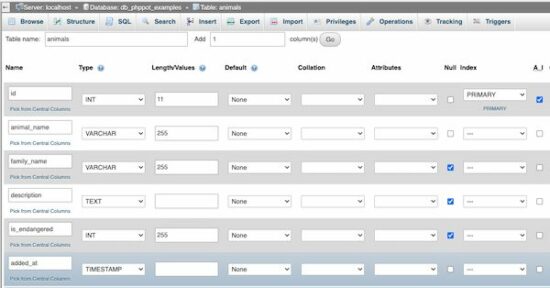
After specifying the table name and the “Number of columns”, the PHPMyAdmin panel will show inputs to add the table column specification.
See the following screen that is added with the column names with their corresponding types and more details.
Add user accounts and set privileges
Select the “User accounts” tab to see the number of existing user accounts. The PHPMyAdmin also allows adding a new user via the interface.
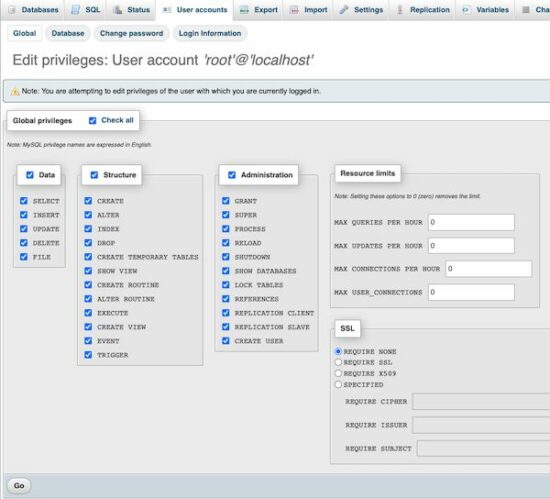
The “Create user” page will have the option to select the user account details and set the permission to perform operations like,
- CRUD operations on the Data.
- CREATE, ALTER, DROP and more operations on the MySQL database Structure.
- Access Administration tools.
- Setting resource limits like making the number of simultaneous connections.
See the screenshot below to allow or deny access permissions of the user created for a MySQL database.
