Google Language translator is one of the popular WordPress plugins used for language translation. It is used to add multilingual support for a WordPress website.
Multilingual support will be handy when you have users from varied regional base. In a previous tutorial, we have seen how to add multilingual support for a website by managing the content using language files.
The Google Language Translator plugin will automatically change the website content based on the selected language. It doesn’t require any manual content-language mapping.
It has a settings page various options to configure this plugin. By using these settings we can configure Google language selector plugin‘s controls, display and many other options for our WordPress website.
Download and Install Google Language Translator
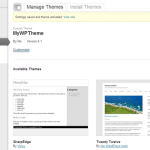
Download Google Language Translator plugin zip file and extract it into the WordPress plugins root directory. We have already seen how to install a new WordPress plugin while creating Breadcrumb Navigation Menu plugin. After extracting the plugin files, it will be shown in the WordPress admin area in the list of the installed plugins.

Activate and Configure Google Language Translator Settings
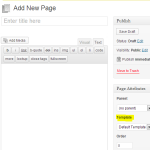
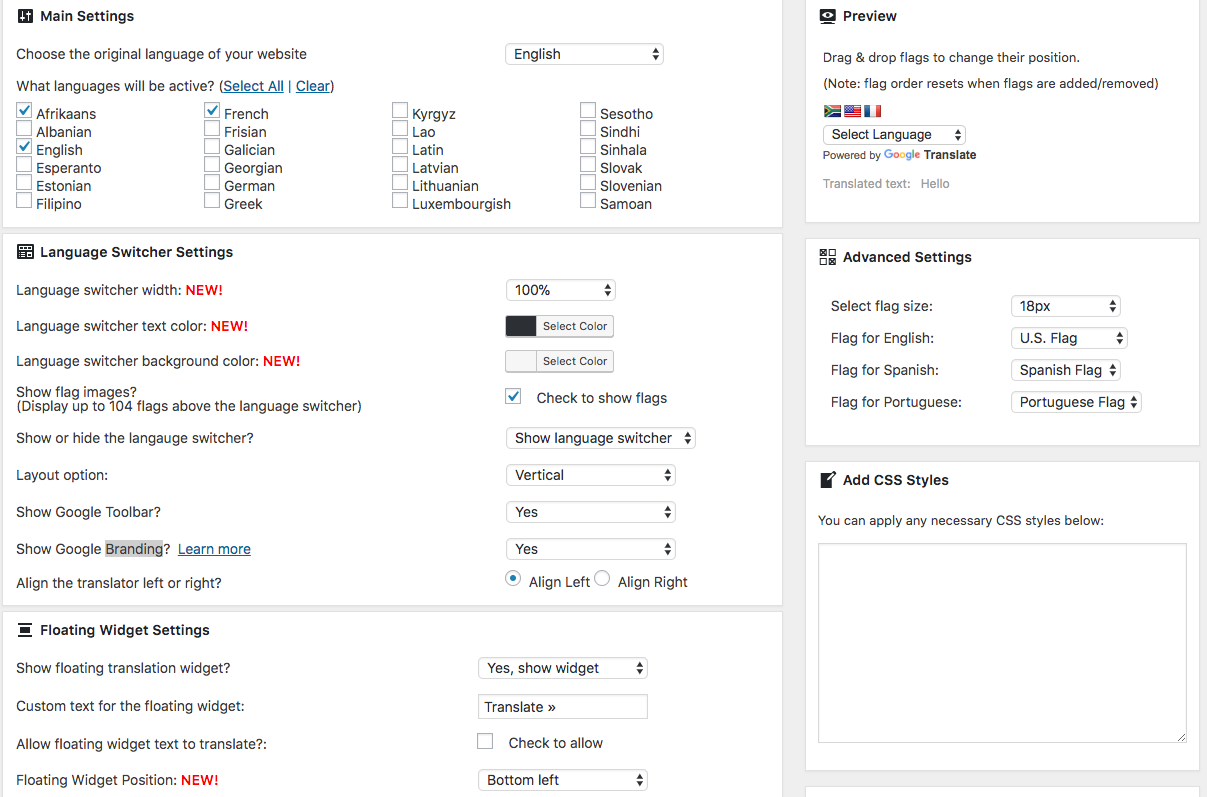
After installing the Google Language Translator plugin, we can activate and configure more of its settings. Navigate using the WordPress admin menu Settings -> Google Language Translator to visit the settings page.
It has many configuration settings like selecting default language, specifying multiple languages to be supported, enable/disable Google branding and more. More other configurations are shown below in the screenshot.
Translator Control in WordPress Website
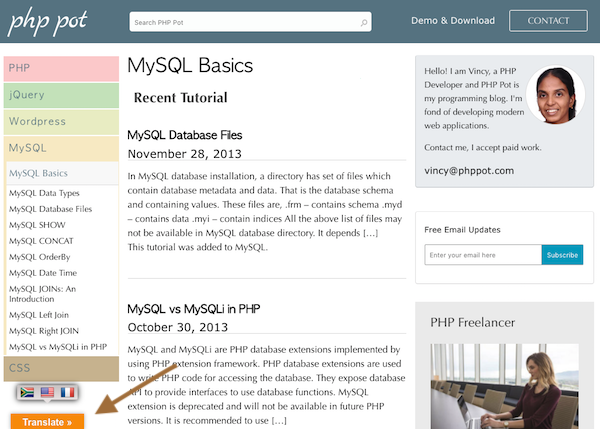
After activating this plugin Google Language Translator control will be displayed as a floating widget by default. We can configure the translator control location and the UI by using the settings.
On clicking the translator control it will display the language option as chosen in the WordPress Admin. By selecting one of the languages, the website content will be translated based on the selected language.